Picture-Perfect Listings: How to Present Your Items and Sell Faster
By David Torsak
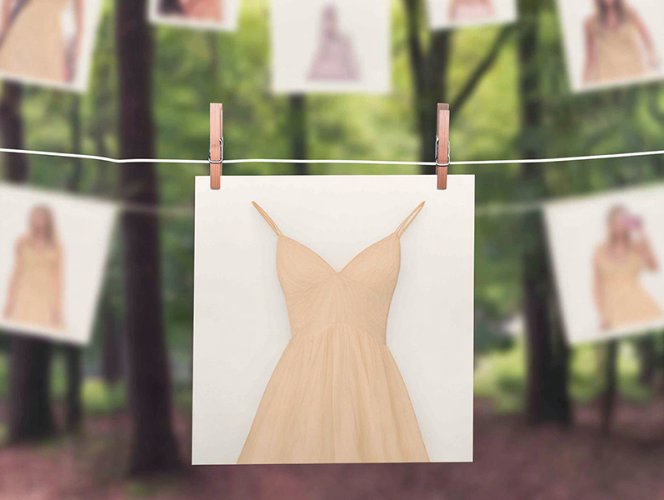
When someone can’t touch your item, your photos do all the convincing. Great pictures build trust, answer questions before they’re asked, and make buyers feel confident clicking “Buy Now.”
Picture-Perfect Listings: How to Present Your Items and Sell Faster
When someone can’t touch your item, your photos do all the convincing. Great pictures build trust, answer questions before they’re asked, and make buyers feel confident clicking “Buy Now.” The best part is you don’t need a fancy studio—just a repeatable photo routine that makes your listings look clean, clear, and high-quality every time.
How Many Photos Should You Take
If the platform allows it, use as many photo slots as you can without adding duplicates. A strong target for most items is 8–12 photos, because that’s usually enough to show everything a buyer cares about without overwhelming them. For higher-value items, collectibles, electronics, or anything with condition sensitivity, aim for 12–16 photos so there are no surprises.
The Photo Count Strategy That Works for Almost Anything
A simple way to think about your photos is: front, back, sides, details, flaws, and proof. Buyers want to see the full item, the important features, and anything that affects condition or authenticity. If your photos cover those categories, your listing instantly feels more professional—and professional listings sell.
The First Photo Is Everything
Your first photo is the “thumbnail” that decides whether someone clicks or keeps scrolling. Make it bright, centered, and uncluttered, with the item filling most of the frame. Choose the angle that makes the item look its best while still being honest about condition, because trust is what converts views into sales.
Use Clean Lighting That Makes Colors Look Accurate
Good lighting is the fastest way to level up your photos. Natural daylight near a window is usually perfect, and it helps colors look true. Avoid harsh overhead lights, heavy shadows, and yellow-tinted bulbs because they make items look dull or miscolored, and that can lead to returns or lost buyer confidence.
Pick a Background That Doesn’t Compete With the Item
Your background should make the item pop, not distract from it. A plain white wall, a simple backdrop, or a clean tabletop works great. If your background is busy, buyers have to work harder to understand what they’re looking at, and when buying feels like work, people bounce.
Show Scale So Buyers Understand Size Instantly
One of the biggest reasons buyers hesitate is size uncertainty. Include at least one photo that helps them judge scale, like the item next to a ruler, measuring tape, or a common object. This one simple step reduces questions, increases confidence, and helps your listing feel trustworthy.
Photograph the Condition Like You’re Protecting Your Future Self
Clear condition photos are a seller’s best defense. Take close-ups of corners, edges, soles, tags, screens, seams, and any area where wear typically shows. If there’s a flaw, photograph it clearly and don’t hide it—buyers trust honest sellers, and transparent listings attract fewer headaches and fewer returns.
Capture the Details Buyers Actually Care About
After your main angles, focus your remaining photos on the “decision makers.” For clothing, that’s tags, fabric texture, and any special features like embroidery or pattern. For shoes, it’s soles, heels, and size markings. For electronics, it’s the screen, ports, model number, and a powered-on photo if possible. For collectibles, it’s condition, authenticity markers, and any serial numbers or stamps.
Keep Your Shots Sharp and Steady
Blurry photos instantly make buyers suspicious, even if the item is great. Hold your phone steady, tap to focus, and take a second shot if you’re unsure. If you can’t get a crisp photo, step back slightly and zoom with your feet instead of zooming digitally, because digital zoom often reduces clarity.
Maintain Consistency Across Your Store
Consistency makes your store feel like a brand, and branded stores feel more trustworthy. Use the same lighting, the same background, and similar angles across listings so buyers recognize your style. When your listings look consistent, your shop looks organized—and organized sellers feel safer to buy from.
Edit Lightly, Not Heavily
A small brightness tweak or a quick crop is fine, but avoid heavy filters that change the true color. Buyers want accuracy, not drama. The goal is to make the item look like the best version of itself in real life, not a version that will disappoint when it arrives.
A Simple Photo Checklist You Can Repeat Every Time
A repeatable routine is what makes listing faster and better at the same time. Start with your best angle for the first photo, then cover front and back, both sides, and key detail close-ups. Add a size/scale shot, include proof photos like tags or model numbers, and finish with any flaws so the buyer feels fully informed.
The Payoff: Better Photos Mean Faster Sales and Fewer Returns
When you nail your photos, everything improves. You get more clicks, more confidence from buyers, fewer questions, fewer disputes, and fewer returns. You’re not just taking pictures—you’re building trust, and trust is what turns browsers into buyers.
If you want your listings to sell faster, start with photos. Upgrade your lighting, simplify your background, use more angles, and show condition clearly. Do that consistently, and your store will feel more professional almost overnight.