Reselling Made Easy: How to List Items That Sell
By David Torsak
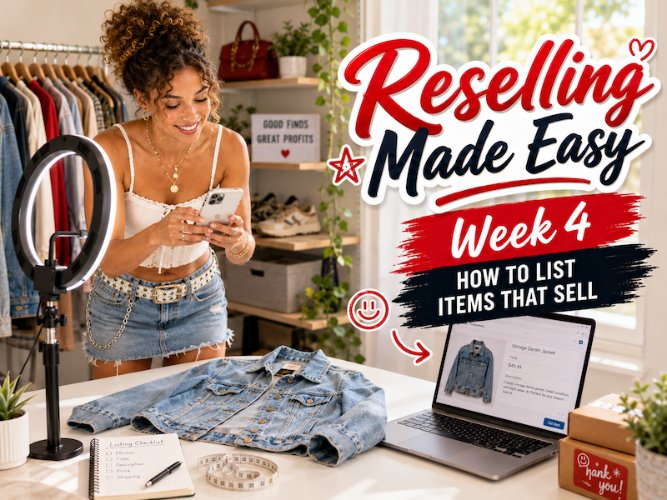
You can find the best items at thrift stores, yard sales, estate sales, and closet cleanouts, but if those items are not listed well, buyers may scroll right past them. A good listing helps shoppers understand what you are selling, trust the condition, compare the price, and feel confident enough to buy.
Reselling Made Easy: How to List Items That Sell
Sourcing is exciting, but listing is where the real selling starts.
You can find the best items at thrift stores, yard sales, estate sales, and closet cleanouts, but if those items are not listed well, buyers may scroll right past them. A good listing helps shoppers understand what you are selling, trust the condition, compare the price, and feel confident enough to buy.
For Week 4 of the Reselling Made Easy series, the goal is to help beginners turn sourced items into attractive listings. This week focuses on better photos, stronger titles, beginner pricing, simple descriptions, and the common listing mistakes that slow down sales. The main takeaway is simple: better listings create faster sales.
Why Your Listing Matters
A listing is more than a product page. It is your sales pitch.
Buyers cannot touch the item, try it on, inspect it in person, or ask you questions face-to-face. They rely on your photos, title, price, description, measurements, and condition notes to decide whether the item is worth buying.
A weak listing creates doubt. A strong listing creates confidence.
That does not mean your listing has to be perfect. It just needs to be clear, honest, searchable, and easy to understand. The goal is to help the buyer quickly answer one question:
Is this the item I want?
Start With Better Photos
Photos are usually the first thing buyers notice.
Your first photo should be bright, clean, and easy to understand. It should show the item clearly without clutter, distracting backgrounds, or poor lighting. Natural light works great, but a simple light setup can also help.
For clothing, show the front, back, tag, size label, fabric details, measurements, and any flaws. For shoes, show the sides, soles, insides, brand, size, heel wear, and tread. For bags, show the front, back, straps, inside lining, zipper, corners, hardware, and any damage.
Do not hide flaws. Showing them clearly builds trust and can help prevent returns.
A buyer is more likely to purchase when they feel like they have seen the whole item.
Make the First Photo Scroll-Stopping
Your first image is the one that has to win the click.
Think of it like the cover of your listing. It should be clean, centered, and visually appealing. If the item is wrinkled, dark, cut off, or sitting in a messy space, it may not get attention even if the item is good.
Before you publish, look at the first photo as if you were the buyer. Would you click it? Can you tell what the item is? Does it look clean and valuable?
Small improvements can make a big difference.
Straighten the item. Remove background clutter. Use better lighting. Crop the image so the item fills the frame. Make sure the color looks accurate.
A better first photo can turn a quiet listing into one buyers actually notice.
Write Titles Buyers Can Search
A good title should be searchable, not clever.
Buyers usually search with practical words: brand, item type, size, color, style, material, model, and occasion. Your title should include the most important details someone would type into the search bar.
Instead of:
Cute Top
Write:
Free People Floral Blouse Women’s Medium Boho Long Sleeve
Instead of:
Nice Shoes
Write:
Nike Air Max Sneakers Men’s Size 10 White Running Shoes
Instead of:
Vintage Jacket
Write:
Vintage Columbia Fleece Jacket Men’s Large Blue Full Zip
The title should help the right buyer find the item quickly.
Use Simple Descriptions That Build Trust
Your description does not need to be long. It needs to be helpful.
A simple description should include the brand, size, color, condition, measurements, important details, and any flaws. Buyers appreciate clear information because it reduces uncertainty.
A beginner-friendly description could look like this:
Pre-owned Levi’s jeans in good condition. Women’s size 28. Medium blue wash with straight leg fit. No major flaws noticed. Please see photos for measurements and condition.
That is enough for many basic listings.
If there are flaws, mention them directly. If the item has special details, include them. If sizing may vary, add measurements. Trust is built when buyers feel like you are being upfront.
Price With a Beginner-Friendly Strategy
Pricing can feel intimidating when you are new, but it gets easier with practice.
Start by checking sold comps. Look for items that are similar in brand, size, style, condition, and color. Do not only look at active listings because those show what sellers hope to get. Sold listings show what buyers actually paid.
If you want a faster sale, price competitively. If your item is rare, highly desirable, or in excellent condition, you may be able to price higher. If you are open to offers, leave a little room to negotiate.
Do not forget fees, shipping supplies, and your original cost.
A sale only matters if it leaves you with profit.
Add Measurements When They Matter
Measurements can help buyers feel more confident, especially with clothing.
Sizes vary between brands, years, styles, and fits. A women’s medium in one brand may fit differently than a medium in another brand. Vintage sizing can be even more unpredictable.
For tops, include pit-to-pit and length. For pants, include waist, rise, inseam, and leg opening. For dresses, include bust, waist, length, and sometimes hip. For bags, include width, height, depth, and strap drop.
Measurements reduce back-and-forth questions and can help buyers make a decision faster.
They also make your listing look more professional.
Avoid Common Listing Mistakes
Many beginner listings struggle because of simple mistakes.
The most common issues are dark photos, vague titles, missing measurements, unclear condition, too few pictures, bad category choices, overpricing, and hiding flaws. Another big mistake is waiting too long to list after sourcing.
Inventory cannot sell if it is sitting in a pile.
Try to list items within 48 hours of sourcing them. This keeps your momentum strong and prevents your death pile from growing.
Also avoid keyword stuffing. Use accurate keywords, but do not add brands, trends, or styles that do not apply. Misleading listings can frustrate buyers and hurt trust.
Your Easy Win This Week
Your challenge this week is to improve 5 active listings.
Choose five items that have been sitting without much activity. Update the first photo, improve the title, add missing measurements, check sold comps, and rewrite the description so it is clear and trustworthy.
Then track what happens for the next seven days.
Watch for more views, likes, offers, messages, or sales. This will help you see how small listing improvements can create new activity.
Sometimes you do not need more inventory.
Sometimes you need better listings.
Final Thoughts: Better Listings Create Faster Sales
Listing is one of the most important skills in reselling.
Good sourcing gives you opportunity, but good listings turn that opportunity into sales. Clear photos, searchable titles, honest descriptions, smart pricing, and useful measurements all help buyers feel more confident.
You do not need to be perfect when you start.
You just need to make each listing clear, accurate, and easy to buy from.
The better your listings become, the easier it is for buyers to say yes.
Coming Next Week
Next week in the Reselling Made Easy series, we will talk about how to build income and keep growing. You will learn how to stay consistent, create basic systems for shipping and inventory, reinvest profits wisely, grow without burnout, and understand what success can look like in your first 90 days.